
Update any schedule template directly from your template library. Simply head to Templates > Schedule Templates to see the full list in your library.
Here you will have a list of your current schedule templates. From this screen you can rename your templates, make a copy to edit or delete the template entirely.
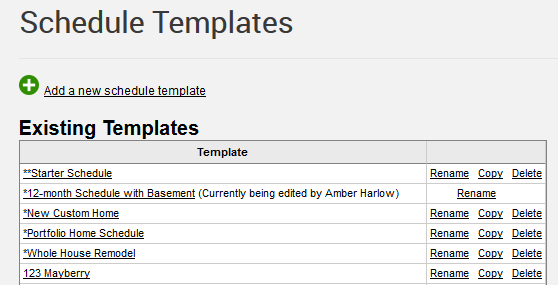
To edit the information in the template, click on the template name to open it.
Now you can use the Gantt, Calendar or Task view of the template to make changes just as you would in your project schedules:
- Edit Task Names: double click on the task name
- Add or Delete Tasks: use the "+" and "x" icons at the top
- Edit Work Days: double click the "Work Day" column or click and drag the task bars
- Add/Remove Predecessors: double click into the "Predecessor" column or click and drag from the Gantt chart
- Add assignees, public and private notes or files by opening the task detail window
Task Dates cannot be edited on the template. Task dates only apply to specific tasks on specific projects. Since the template will be copied to many projects over time, specific dates are not applicable. Instead, the relative value of the dates are important, based off of the number of work days for tasks and the dependencies between them.
For example, excavation will not always be May 12th through May 20th on all of your projects. However, excavation may usually last 7 work days and start 2 days after the preceding task on your schedule. For that reason, you can enter work days and predecessors on the template, but not specific dates.
The dates are shown only to help you gauge general timelines in a hypothetical setting. (Set the hypothetical start date at the top right to any date to see how your tasks fall in line.)
When you actually copy the template to a project, the dates will recalculate based on the current date. Any tasks without predecessors will default to the current date.