
CoConstruct can automatically "pull" codes from QuickBooks, but there's no way for us to "push" codes from CoConstruct to get them into QuickBooks.
The below article and videos will provide step-by-step instructions on how to import your accounting codes from a spreadsheet into QuickBooks Desktop and QuickBooks Online.
**IMPORTANT NOTE: Before importing any new codes into QuickBooks, it will be important to have your bookkeeper or accountant review this with you first. They will be able to guide you on what type to set up for each code – Inventory, Non-inventory or Service – and what accounts to designate for expense and income tracking when setting these up in QuickBooks based on your particular business. These settings will not affect anything with the integration with CoConstruct but WILL impact your financial reporting and end of the year tax statements. Our provided spreadsheets provide some common selections for these accounts for you to work from.**
For QuickBooks Desktop Users
"Importing" codes into the QuickBooks Desktop Item List isn't as straightforward as you might think, and the most immediate way of getting Excel information into QuickBooks is through the "Paste from Excel" option that you can find at the bottom of the Item List.

This will put your Item List in an editable spreadsheet mode.
Use the "Customize Columns" button in the upper right to adjust this view to match the file you're trying to import (add, delete, and reorder columns).
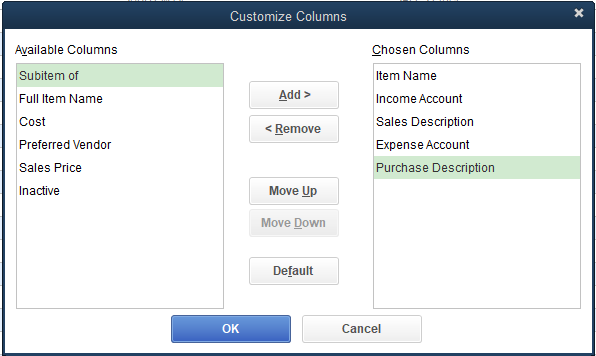
The key columns that you'll want to include, at a minimum, are:
Then, you can simply copy the information from your Excel file, paste it into QuickBooks, and save. You can now run a sync on your Web Connector and import or match these to your accounting codes in CoConstruct!
For QuickBooks Online Users
Before importing your list of accounting codes into QuickBooks Online, make sure you first have things set up to track expenses and sales via products and services. Instructions on how to set this up can be found in the "Company Settings" header of this Knowledge Base article: https://coconstruct.zendesk.com/hc/en-us/articles/204212900
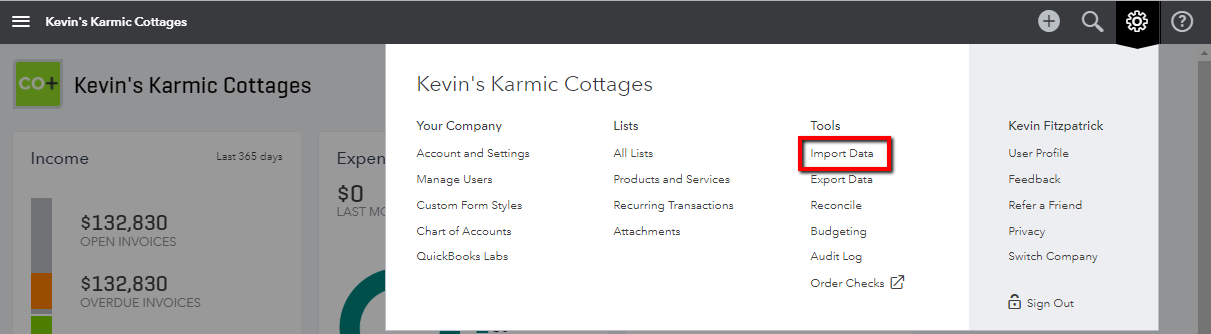
To import, click on the gear icon in the upper-right and select Tools > Import Data > Products & Services.
Browse to select the Excel file that contains the codes you want to import. The Excel file should include the same information as mentioned for QuickBooks Desktop above:
On the next page in QuickBooks, you'll map the Excel columns to the corresponding fields. By filling in Purchase Information, and not just Sales Information, these products and services will be configured for expenses.

The final page of the import will allow you to review and update any information as needed. If it does not automatically happen during the import process, you’ll want to make sure that both the “Buy” and “Sell” columns are checked for every item.

If your Income and Expense Accounts were not already set up in your Excel sheet, you will want to select the appropriate accounts (as directed by your bookkeeper/accountant) at this time before finalizing the import. When everything is confirmed, you’ll select the green “Import” button at the bottom left corner.
You can now import or match the Products & Services to your accounting codes in CoConstruct!