
If you’re using the integration with QuickBooks you can quickly create progress invoices from the estimates you’ve built out in CoConstruct.
Remember, however, that you can create progress invoices from your estimates (fixed price) or budget actuals (open book) directly in CoConstruct and then push these invoices to QuickBooks. You can find more information on the invoices feature here.
The first step will be to export your CoConstruct estimate to QuickBooks. For more information on how to do this, view our Help Center article here.
QuickBooks Desktop
Make sure progress invoicing is enabled in your QuickBooks settings
- Open your QuickBooks company file as an admin user
-
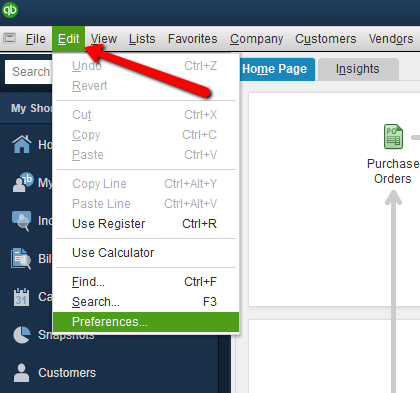
Go to Edit > Preferences
-
Under Jobs & Estimates > Company Preferences > enable Progress Invoicing

- Select OK to update settings
Creating the invoice
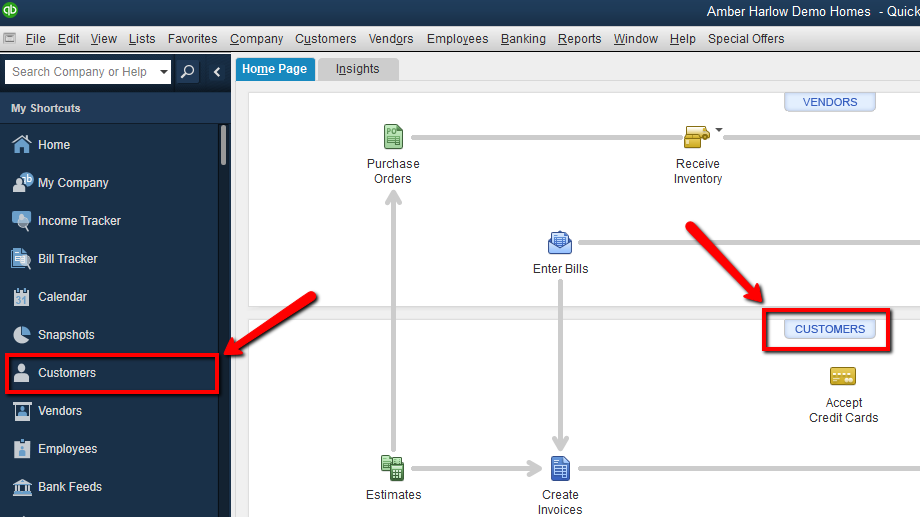
- From the QuickBooks home screen, navigate to Customers
- Select the appropriate Customer/Job name and find the corresponding estimate under "Transactions"
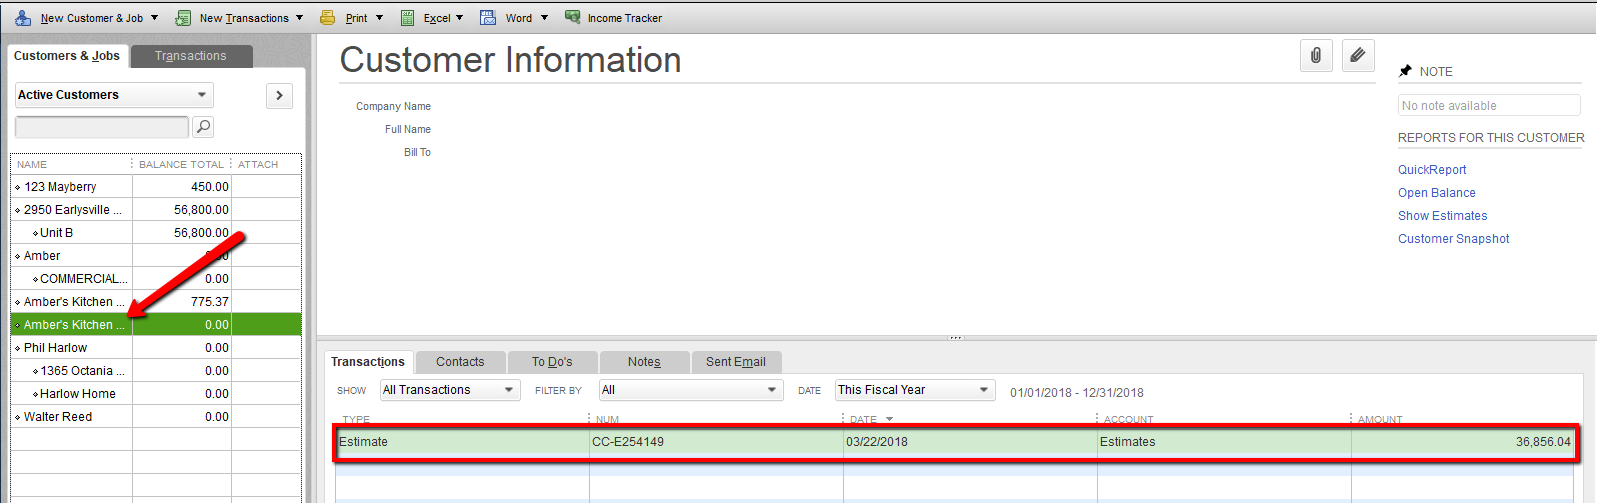
- Double click to open the estimate in QuickBooks
- At the top of the estimate, select the "Create Invoice" button
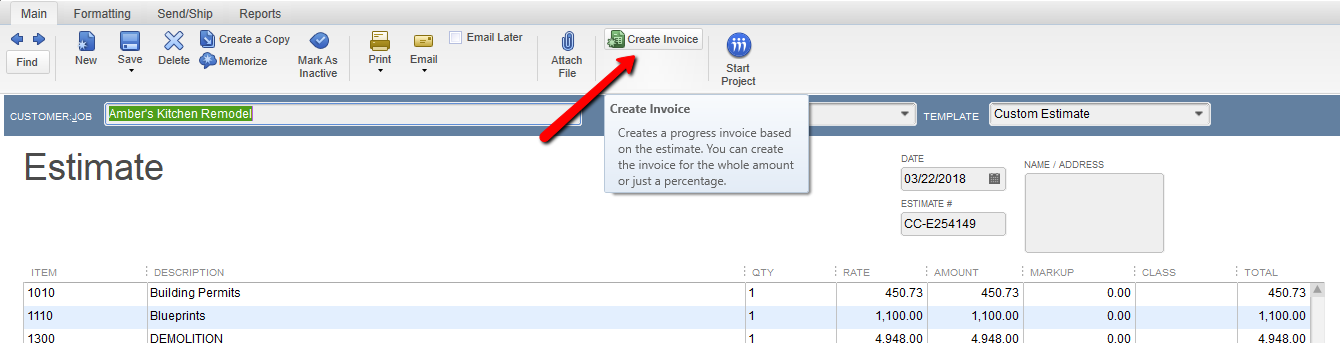
- QuickBooks provides three options for invoicing from the estimate:
- Create invoice for the entire estimate
- Create invoice for a percentage of the entire estimate
-
Create invoice for selected items or different percentages of each item
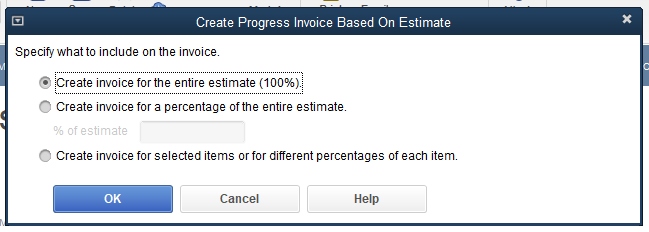
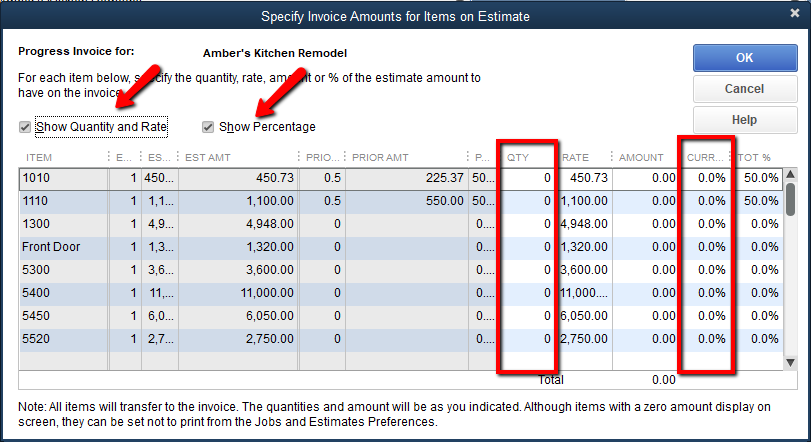
- Choose the appropriate option based on how you invoice your clients. If you choose the third option, you’ll be able to invoice each line according to a specified quantity or percentage rate
- Save the invoice and send off to your client for payment! You can repeat the process for future progress invoices and QuickBooks will keep track of which estimate items have already been invoiced for you.
QuickBooks Online
Make sure progress invoicing is enabled in your QuickBooks Online settings
*This feature is currently only available for QuickBooks Online US, UK, Canadian and Australian versions.
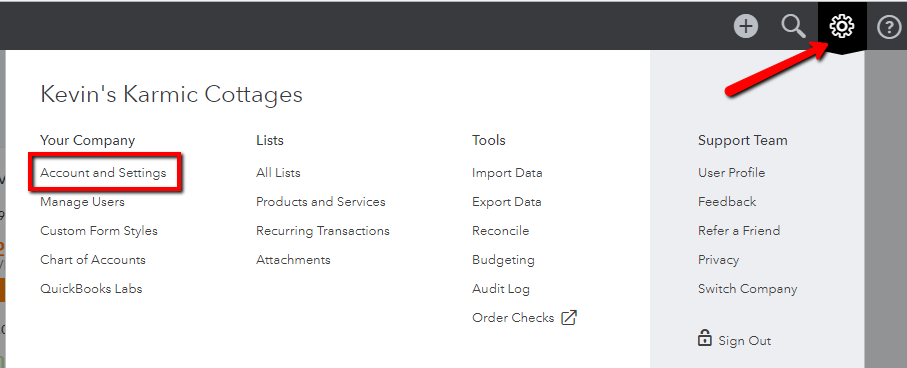
- From the main QuickBooks Online Dashboard, navigate to the gear icon in the top right corner and select "Account and Settings"
- Under Sales > Progress Invoicing, make sure "Create multiple partial invoices from a single estimate" is ON
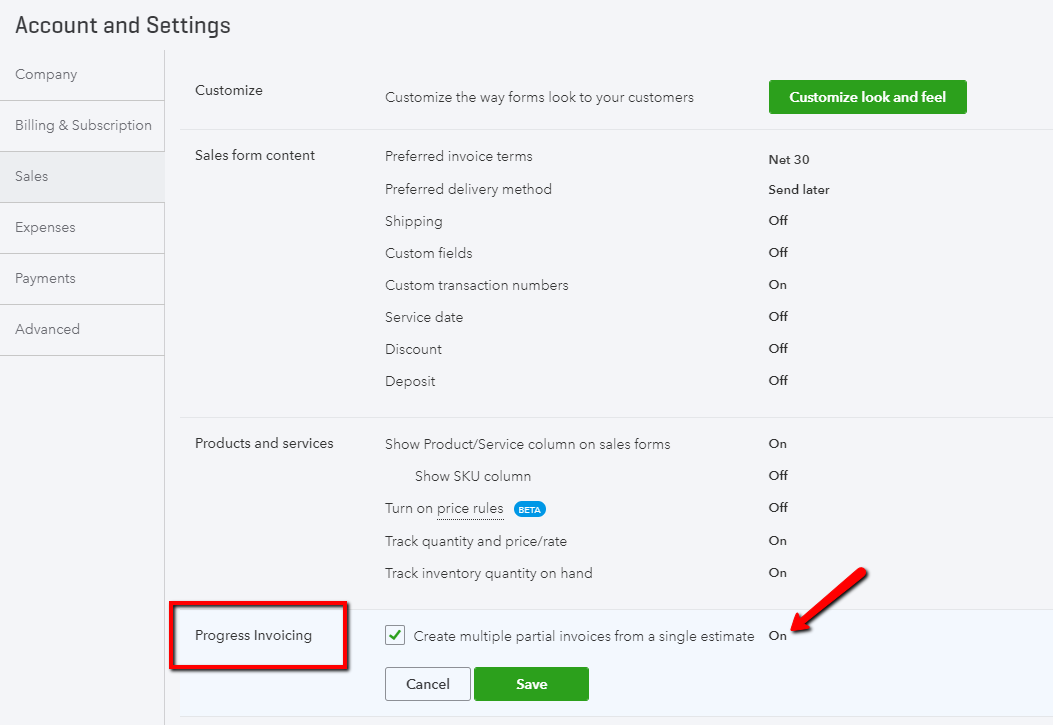
- Save and hit "Done" at the bottom right corner.
Mark the estimate in QuickBooks as "Accepted"
-
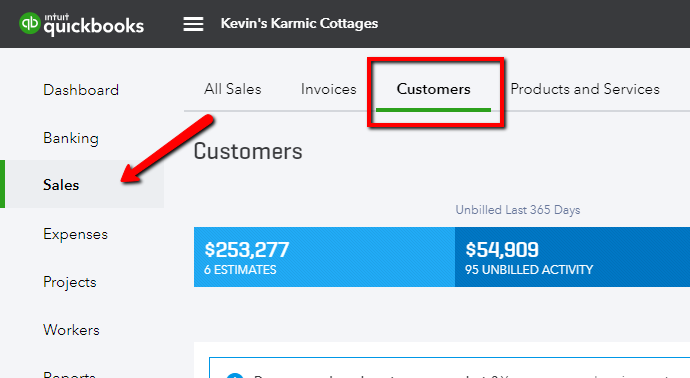
From the main QuickBooks Online Dashboard, navigate to the Sales > Customers
-
Select the customer or project name and find the corresponding estimate

-
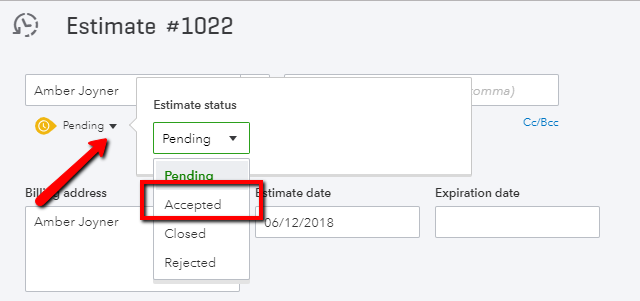
At the top left of the estimate, under the customer name, change the status from "Pending" to "Accepted" > Save the estimate
Create the invoice
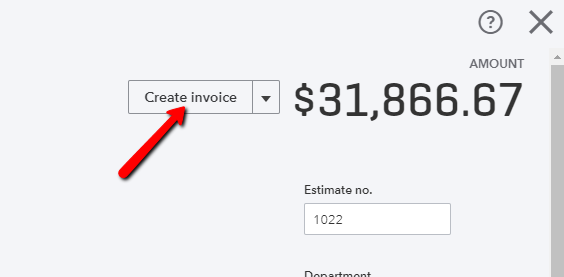
- At the top right of the estimate, select "Create invoice"
- QuickBooks provides three options for invoicing from the estimate:
- Total of all estimate lines
- % of each line (invoices same percentage of each line across estimate)
-
Custom amount for each line
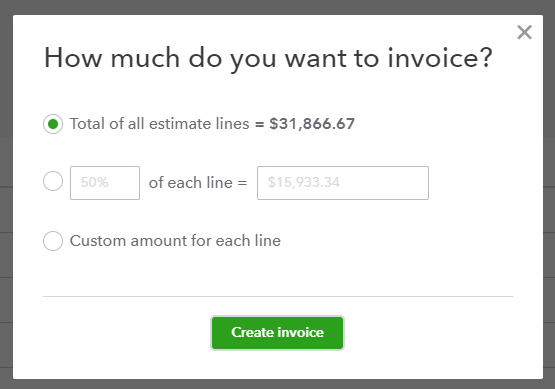
-
Choose the appropriate option based on how you invoice your clients. If you choose the third option, you’ll be able to invoice each line according to a specified quantity or percentage rate

- Save the invoice and send off to your client for payment! You can repeat the process for future progress invoices and QuickBooks will keep track of which estimate items have already been invoiced for you.